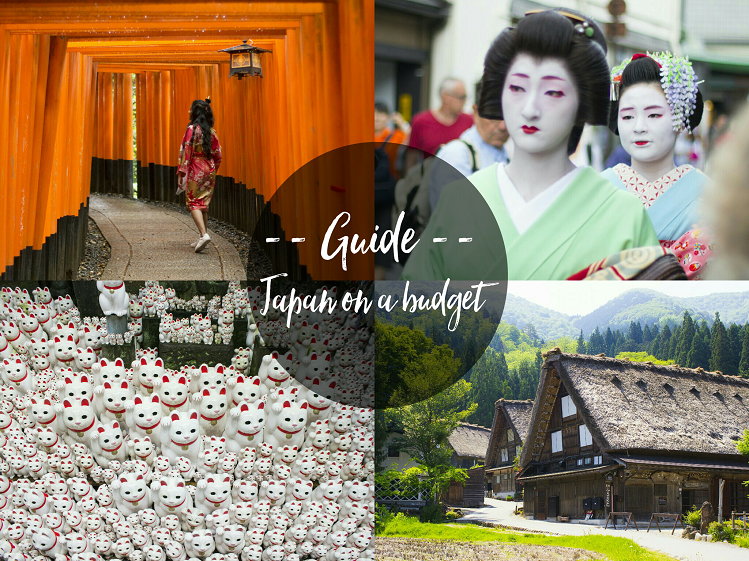
After doing a cheap trip to Italy last year, we were determined to do it for Japan this year. A LOT of people told us that Japan is extremely costly. Yes it is, but with a little planning, we covered Japan over 8 days for under 1 lakh per person. This included our flights, visas, stay, transportation, food, shopping and just about everything.
How to select what you want to see?
Google the regions of the country and then Google them one by one and go to Google Images and see what you like there. Search “10 things to see and do in < >”. Use the website Rome2Rio to learn how to get from one place to another. We selected this route: Tokyo -> Shirakawa-go -> Kyoto -> Tokyo
Flight from India to Japan
Air India flies from New Delhi to Tokyo Narita and their rates are the cheapest we found. I use skyscanner to get cheap flights.
How to apply for Japanese Tourist Visa
Getting the Japanese visa was super easy and smooth.
We applied for the visa at the Consulate-General of Japan in Bengaluru with the necessary documents. Make sure that your documents are clear and proper. Maintain sufficient funds in your bank account. Include a covering letter. We were asked to collect our passports 3 working days later. And there it was J – the visa sticker.
Transportation
Airport shuttle – Narita express tickets (N’EX) purchased at the airport from JR EAST Travel Service Centers (purchase round trip tickets, they are cheaper).
Trains in Kyoto and Tokyo – You can get almost everywhere with some walking and the vast majority of trains. Here’s a good guide – Japan Train Guide . Suica cards are very convenient for train journeys as you don’t have to fiddle with money. Recharge it and swipe it before neutering a station and on leaving a station. The fare will be automatically deducted. We purchased our Suica cards from the JR EAST Travel Service Center at Narita airport – Suica Cards guide
We did an International Roaming recharge on Airtel because Japanese alphabets are something we aren’t aware of. This helped immensely in deciding the train lines and stations to take. Just use the google navigation and enter in the from and to.
We also purchased Kyoto City bus day passes while in Kyoto for shorter travels(like a stop or 2) – this allows unlimited bus journeys per day. Just punch it with the date in the machine near the driver during your 1st ride of the day and then show it for subsequent rides. Google maps gives bus numbers and bus stops as well 🙂
Booking your stay in Japan
I have mentioned where we stayed in the individual travel posts.
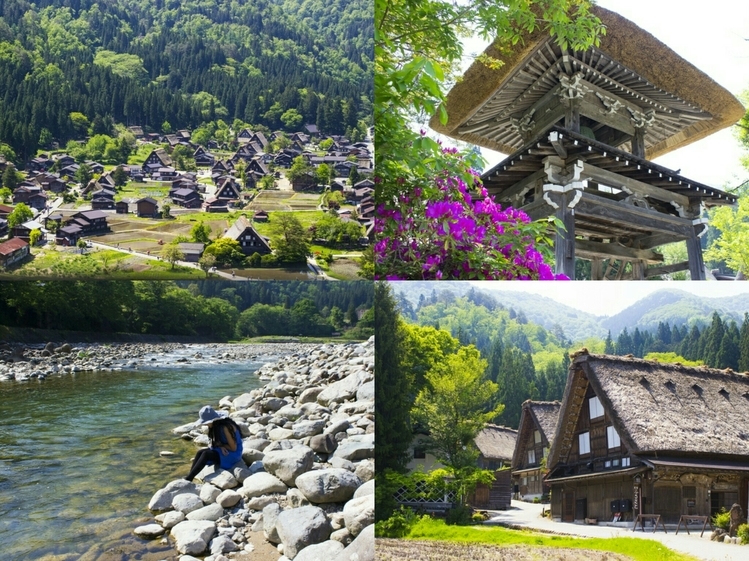
A guide to Shirakawa-go
I remember seeing a picture of Shirakawa-go some years ago. I was so marvelled by it that I decided that Shirakawa-go will be a must visit when I ever travel to Japan. And this year continue reading…
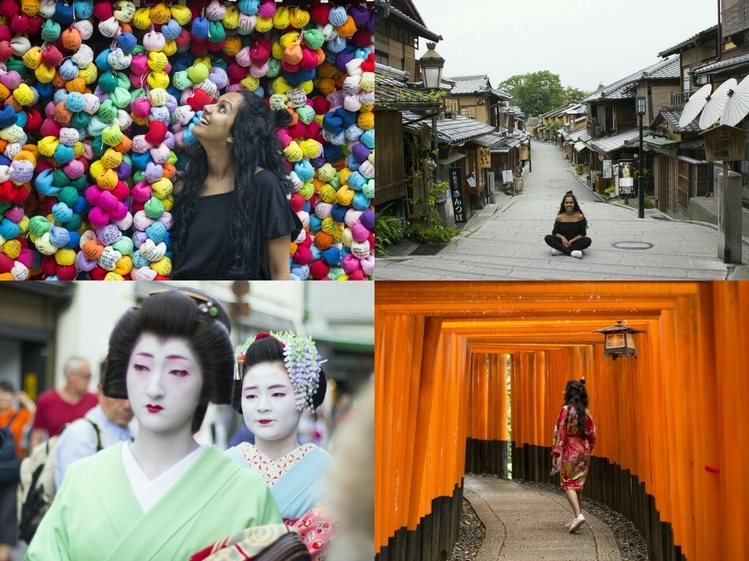
10 things to do in Kyoto
After a beautiful time in Shirakawa-go, we took a bus to Kyoto. Here are some great things to do in Kyoto. Fushimi Inari is the most important of continue reading…
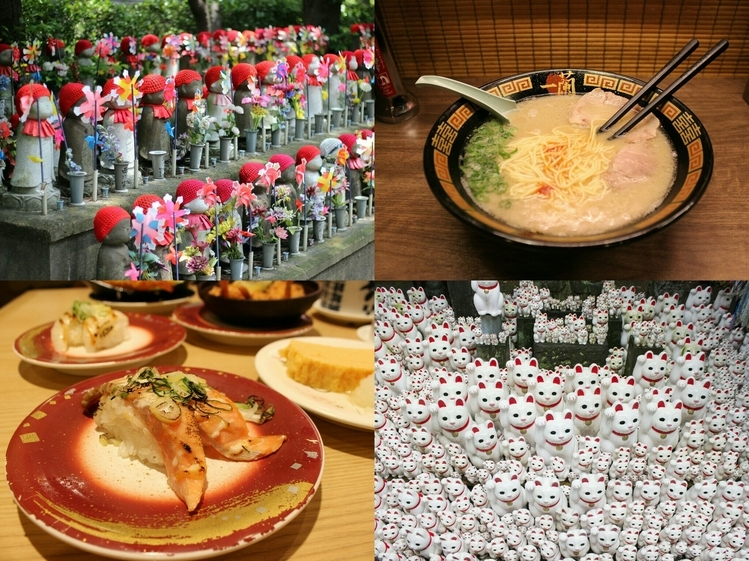
7 things to do in Tokyo
After a great time in Kyoto, we headed to the capital city of Japan, Tokyo! Here are some things we enjoyed in Tokyo. Watch hundreds of cats at Gotokuji temple. You would have noticed the beckoning cat in front of continue reading…


Blog Comments
Koel Chaudhuri
August 14, 2018 at 12:31 pm
Hi Anjana, what was your itinerary? Even i am planning to do a Japan trip, and was getting mixed feedback about the cost. It would be a couple trip. I quite like your choice of places in your travelogues, so i figure your itinerary might work for me too.
Anjana
August 14, 2018 at 6:11 pm
Shirakawa-go – Kyoto – Tokyo 🙂